Setting up Mkdocs Repo as an Obsidian Vault
One of the hardest things for me while writing blog posts or documentation was the need to use the raw markdown editor in VSCode, which you need a split screen for viewing the rendered content, and it turns out that Obsidian is the answer.
I'll show you how to create a simple workflow for writing blog posts and documents using Mkdocs and Obsidian.
Setting up Mkdocs
First, you'd want to have a Mkdocs repo ready. I'm using Material for Mkdocs , where just running mkdocs new . creates the boilerplate repo. You'll see that it'll have a docs folder structure similar to this:
docs/
├── assets/      # Store images and other static files
├── blog/        # Main blog content directory
│   ├── index.md # Blog homepage
│   ├── posts/   # Individual blog posts
│   └── tags.md  # Tag listing page
├── index.md     # Main site homepage
└── tags.md      # Site-wide tags
Mkdocs will render everything that's in the docs folder in the output, so make sure to only keep stuff that you'd want to publish as pages and assets here.
Run the Mkdocs server with mkdocs serve so that you can automatically see the changes that we'll make within Obsidian.
Setting up Obsidian
Set up the docs file as an Obsidian Vault
Open the docs folder as a vault in Obsidian for various reasons. First, if you would need to have drafts that you don't want to publish, you can create a drafts folder in the docs folder that Mkdocs will not include in the output. Another reason is that we'll add Obsidian templates later on, which are .md files that we don't want to have in our site.
Set the folder to create the new notes in
Go to Settings -> Files and Links -> Default location for new notes, set it to posts folder, this way when you click the new note button, it'll automatically appear in Mkdocs. Alternatively, you can create a drafts folder within docs folder, and move the documents that are ready to posts folder.
Set up a post template
Mkdocs documentation and blog posts will need to have metadata fields to be able to render properly. We can create a metadata template so that we won't need to manually write the metadata every time we want to post something.
First, go to the Settings -> Core Plugins and enable Templates. Go to its settings and set up the template folder location to templates, in our root vault directory. This way our resulting site won't have this template.
Create a new file called blog-template.md (or docs-template.md if you're writing documentation) within the templates directory, and add your template. Here's mine for reference that automatically inserts today's date when used.
To test if this works, create a new note, add a title, and on the ribbon, select Insert Template, you'll see that the necessary metadata is filled.
Set up the attachments
One of the best things about using this setup is being able to paste attachments directly within Obsidian, and for this you need to set up where the pasted images will be located within the vault. Go to Settings -> Files and Links -> Default location for new attachments, and select assets/images folder.
After this you'll also need to disable Wikilinks by toggling off Settings -> Files and Links -> Use [[Wikilinks]] because Mkdocs doesn't natively support Wikilinks.
The last thing to do for attachments is setting the link format so that the images will appear on the site exactly as they appear within Obsidian. Go to Settings -> Files and Links -> New Link Format and set it to Relative path to file.
After these steps when you paste an image in Obsidian it should appear in your site.
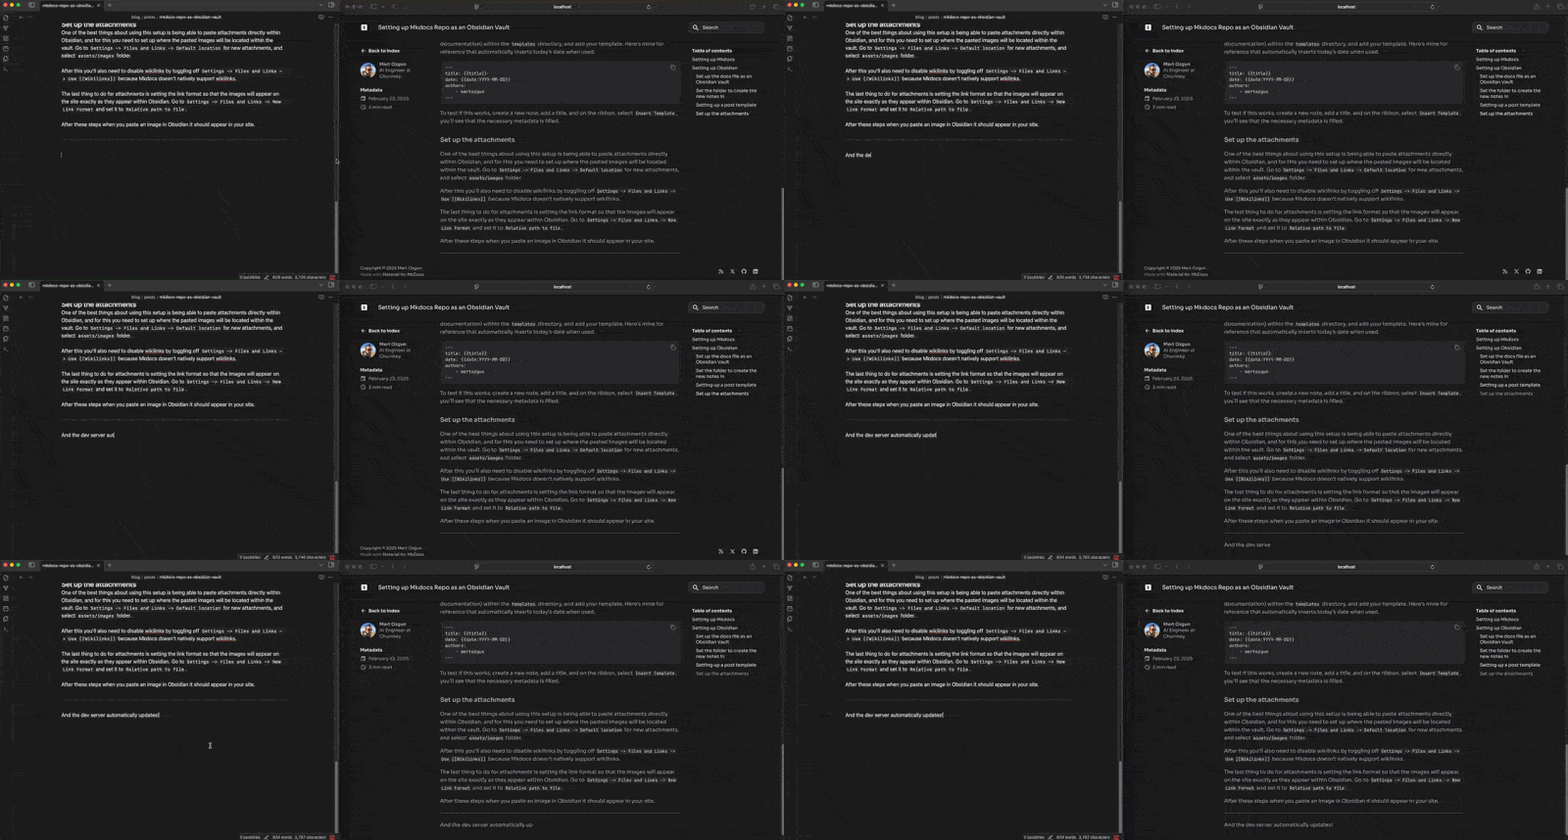
In the end, you'll have a beautiful markdown editor that's truly WYSIWG and everything that you've added within Obsidian will be reflected in a matter of seconds when running the Mkdocs dev server
